Note: This page contains affiliate links. If you decide to purchase through these links, we may receive a small percentage of the sale at no additional cost to you. You can read more about our affiliate partnerships on our policy page.

Photo by diy13 - stock.adobe.com
11 essential gear items for beginner photographers
september 14, 2020
If you’re new to photography, there are a few key pieces of equipment that along with your core camera kit will add to your ability to make great photos in any situation.
Just a quick background about myself. I’m Elaine, and I’ve been working as a professional photographer for over 20 years. I spent the bulk of my career working for newspapers and media organizations across the United States, and I’m co-founder and primary content producer for this website, Travels and Curiosities.

Here’s me, photographing at Yellowstone in September or 2020 after rolling our of our Element Camper to shoot at sunrise. It’s a great look, I know.
Everyone has their own approach when it comes to gear, and that largely depends on what type of work they do. A studio or commercial photographer, for instance, is probably going to require a variety of lighting equipment, modifiers (soft boxes, light banks), and light stands. A travel photographer, me, needs things to be a bit more portable, hence the travel. As a result, I’m a bit of a minimalist when it comes to photography gear. I need gear that’s rugged, versatile, and that I can trek with me anywhere I go. Check out What’s in My Camera Bag for a detailed list of what I’m currently using.
These essential gear items for beginner photographers come from many years of not just travel photography, but photographing for newspapers, weddings, in the studio, and for commercial clients. And if you ever have any questions, feel free to reach out to me and I’ll be happy to help however I can.

The ultra lightweight and compact 3 Legged Thing Leo Tripod. Photo by Elaine Skylar Neal/Travels and Curiosities
Lightweight Travel Tripod
A tripod is a critical piece of camera equipment, and it’s probably the single most important gear item on this list.
First, heavy and unwieldy tripods can be a major bummer. They take up considerable room both in storage and standing in place, they’re not very discreet to set up, and they can literally be a pain to lug around. You want your gear to work with you, not against you, and ease of setup is very important.
For all these reasons, I recommend opting for a lightweight travel tripod. There are many good quality choices on the market today. A few key considerations are weight, folded length, load capacity, max height, and minimum height.
What matters most? Well, that depends on what you intend to photograph. But here are a few things I would think about before purchasing one.
Weight
How lightweight should it be? Unless you’re going on a multi-day sojourn in the woods, all on foot, any tripod under 5 pounds is probably going to be light enough to not become overly burdensome.
Folded Length
How compact do you need it to be? Compactness has become very important to me. I tether my 3 Legged Thing Leo Tripod to the bottom of my Peak Design Everyday Backpack, as you can see below, and I specifically chose this tripod for this very reason. As a result, it’s very easy for me to transport, even on high altitude mountain climbs.
Load Capacity
How much does your gear weigh? My best recommendation on this is to look up the combined weight of your camera + the heaviest lens you own and make sure that this total weight is less than the load capacity of your tripod. Otherwise, you could get a tripod that’s literally not stable enough for the gear you’re trying to mount, and there will be ill effects such as a center column that sinks undetectably while shooting, resulting in blurry images.
Max Height
How tall do you want this tripod to stand? Be sure to check this, especially if you’re looking for something that extends slightly taller than you do. This was not a concern of mine, which is good as my tripod is only about as tall as I am… which isn’t very tall at all.
Minimum Height
What is the lowest the tripod can be set up off the ground? This is key for shooting low angles such as landscapes and astrophotography.
Fluid Ball Head
There are many different types of tripod heads (where you mount the camera to the tripod itself). Thankfully, many of the travel tripods on the market today already come with a fluid ball head, which is a compact tripod head that allows you to easily and quickly adjust the camera by swiveling it on the ball head. They should all come with a leveler too, which really helps with keeping your camera inline with things like the horizon.


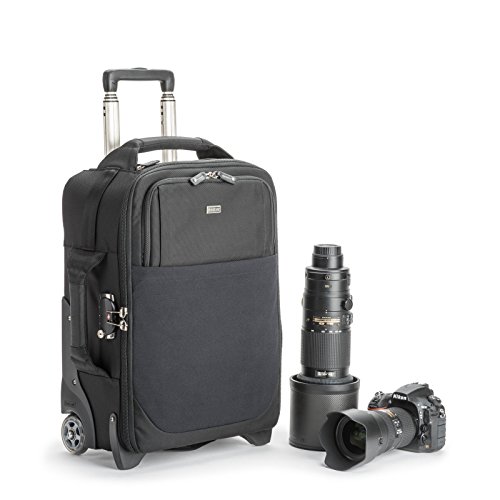
2. Protective Camera Case
There are many choices for how to carry your camera gear, including all sorts of over the shoulder bags, sling packs, hip and fanny packs, backpacks, systems, roller bags, and other cases out there. Many of these choices are going to come down to intended use and ergonomics.
For instance, a sports or news photographer needs to be able to access their gear quickly, many opting for over the shoulder bags and waist packs for ease of switching lenses, batteries, and cards. Whereas a commercial or wedding photographer traveling frequently on flights or on location might choose a roller bag so that they don’t have to physically lug it around all day.
Most important, I think, is that the case protects the gear. This sounds like a no-brainer, but there are some lesser-quality bags out there that aren’t going to protect against rain or sand, for instance. There’s really no point in spending money on good quality photography equipment if you’re going to cheap out on the bag that holds it, right?
Portability is key for me, as is exposure to the elements, which is why I went with Peak Design’s 30L Everyday Backpack, as seen above. I have literally been in everything from downpours to sand storms with this bag, and not only does it look as new as the day I bought it (almost two years ago), it has successfully kept my gear completely protected within. Plus, you can access your gear from both sides of the pack and from the top, which makes it really great for easy and speed of working.
Below are some exact bags I’ve owned in the past. I would buy any of these again, and I highly recommend these brands in general for their quality, durability, and overall craftsmanship.


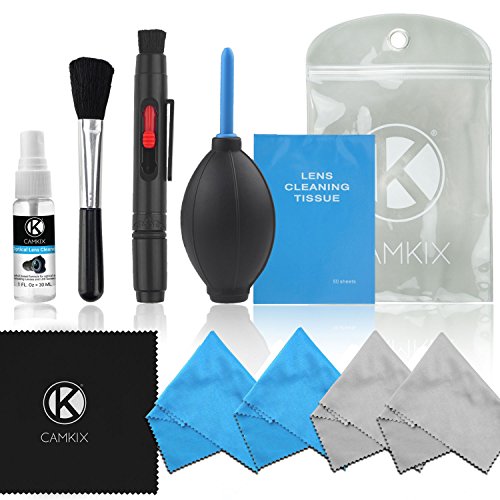
3. Lens + Sensor Cleaning Kit
I leave sensor cleaning to the professionals, but if I’m out in the field and I need to clean dirt or dust on my camera’s exterior or a tiny dust particle on the sensor that can be resolved with an air puffer, a basic camera cleaning kit really comes in handy.
4. Extra Batteries
One of the most frustrating things to happen to any photographer while shooting is their battery dying in the middle of the shoot. Not to mention it can be downright embarrassing if a client or subject is witness to this rookie mistake. Owning at least one extra battery per camera body will help eliminate this problem and frustration altogether.
5. UV and Polarizing Filters
Having any sort of filter on your lenses AT. ALL. TIMES. is key to keeping the lens clean, scratch-free, and safe from accidental impacts such as banging the front element into the door as you leave the house. I know this because I’ve done it over 100 times.
A UV filter is an affordable place to start, but a circular polarizing filter is great too for upping the contrast in your images and deepening the blues in the sky, which is especially helpful if it’s a hazy day. Make sure to check what size you need. This can be found either on the inside of the lens cap that came with the lens, or you can check on the inside thread of the lens itself. The sign for the filter thread is a symbol that looks like a zero with a line through it.

6. Remote Flashes
If you’re new to photography, you might not understand just yet how to use a flash, including how to use it on the manual setting. A flash is a great way to experiment with beginning lighting techniques when first getting into photography. But the most dynamic lighting will come from taking the flash off the camera, which means using a remote system to fire the flash independent of the camera.
In the image above, I used an old Nikon SB-24 Flash triggered by a PocketWizard PlusX Transceiver. I have three of them, but you only need two to get started with this setup. You plug one PocketWizard into the flash—it can be any flash, and does not have to match the camera—and you attach the second PocketWizard to the hot shoe of your camera. They are relatively affordable, and they can be used with pretty much any modern camera system or lighting kit. With that said, it’s best to check compatibility first.
7. LED Video light
Don’t be fooled by the word “video” in this recommendation. You can learn a lot about lighting and how it affects your photography by experimenting with a portable LED video light that will project a continuous stream of light out there for you to work with. This LED Video Light by ESSDI is dimmable and has various color temperature settings to play around with too. And it’s CHEAP.
It can be mounted on a tripod, on the top of most modern cameras, or it can be held by a willing friend.

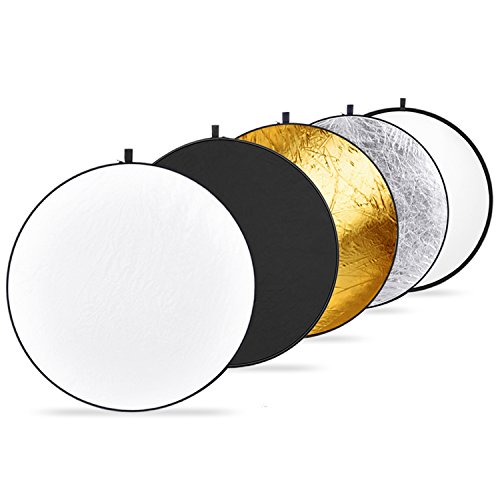
8. multi-disc Reflector
A multi-disc reflector is a great tool for the beginner, amateur, and professional photographer alike, and it’s relatively cheap. Many reflectors, like this one by Neewer, has 5 reflector options (translucent, silver, gold, white, and black) all within one $30 collapsable and, most importantly, portable disc.
What are multi-disc reflectors used for? These are really handy for reflecting light back into the shadows of any subject and are especially useful for portraits to fill in shadows on the face. To be honest, the white is really the only side I’ve ever used consistently, and you can get a similar effect by using a large piece of white foam core board instead. But a large piece of foam core is a lot less portable, which, among other reasons, makes this kind of a no-brainer tool to own.
Also, another useful application is to use the translucent panel as a filter between your subject and the light source. This can diffuse the harsh light of the sun, a direct strobe, or any other light, and using it this way can produce lighting that is softer in general.
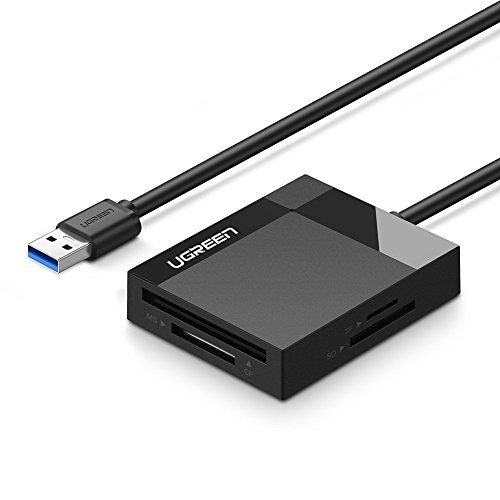
9. Multi-card Reader
Having a card reader that can accept the most digital cards on the market today is handy for use between several different types of equipment. They are no more expensive (sometimes less so) than readers that are dedicated to one specific type of media. This multi-card reader by UGREEN has four card slots and accepts all of the most common formats of digital cards while processing them at high capacity and speed.
10. External Hard Drives
It’s important to have your images backed up if you want to avoid serious heartache when a computer decides to fail or is unintentionally lost or stolen. Most professional photographers I know back up their work to hard drives and/or cloud-based systems, and they also have redundant backup practices for how they store their images. This simply means that they don’t just have one form of backup. They’ll often have two or three forms of backup, especially for content that hasn’t been delivered to a client yet.
We currently use two of these 4TB My Passport Ultra for Mac. PC compatible versions are also available.
To start out, I’d recommend buying at least one external hard drive to back up your most important work. Two is better, and I would also recommend storing the second one in a location that is separate from your home office or workspace. That way in the event your dedicated work station is destroyed by a fire, flood, tornado, or Tasmanian Devil, you’ll have a collection that is safely stored elsewhere.
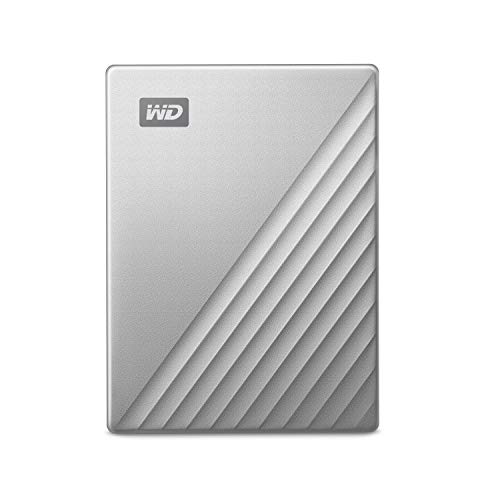

Photo by Goffkein - stock.adobe.com
11. Lightroom and Photoshop
Even beginner photographers need a way to post-process images to help them look their best. Sometimes referred to ask “toning,” most professional photographers today rely on Lightroom and/or Photoshop to perfect their art, and this process is just as important as taking the picture itself. We use their $9.99/month photography plan, which gives us anywhere access to Lightroom, Lightroom Classic, and Photoshop. This plan, a part of what is called their Creative Cloud, also integrates with Adobe Stock, which is just another bonus and benefit to working with Adobe.
We use Adobe Stock to help us with visual content on this blog. But beginning and established photographers around the world contribute their work to Adobe as a way to earn freelance income.

Hi! I’m Elaine. I’m a photographer, writer, and co-founder of Travels and Curiosities.
I love travel, exploring hidden gems, and discovering unique and curious places. I’m also a champion for storytelling in all its amazing formats.
Want to test out a camera system, but you’re not sure if you’re ready to buy?
Photographers and creators, you can take advantage of 15% off with Lensrentals by using our unique Travels and Curiosities coupon code TAC15. Lensrentals is the best and largest online rental house in the country. Have some fun renting something new today!
Note: Lensrentals does not ship outside of the US.

We love storytelling in all its amazing formats. As a photographer and online publisher, Adobe is a critical tool for running my business. Their creative cloud membership incorporating Lightroom and Photoshop speeds up my workflow and helps me make my images look their best. If you’re new to Adobe and the Creative Cloud membership, they have several plans to fit your creative needs, but the $9.99/mo photography plan allows you to access Lightroom, Lightroom Classic, and Photoshop from anywhere your photography takes you.
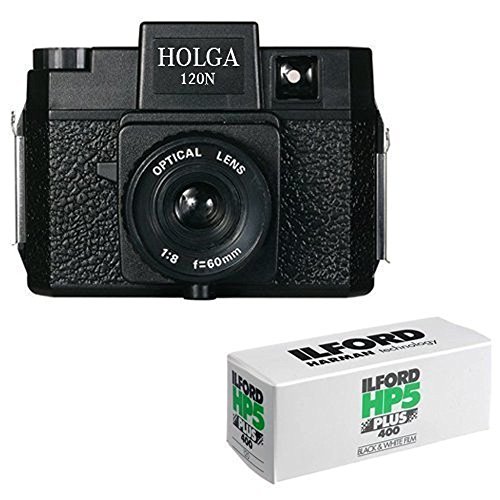
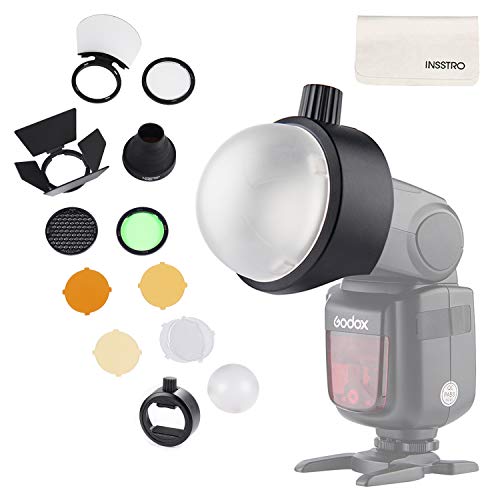
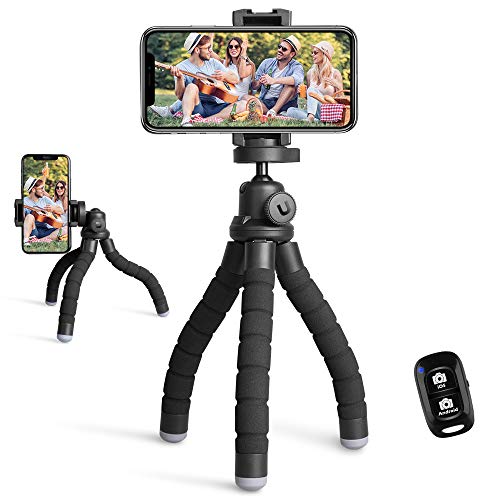
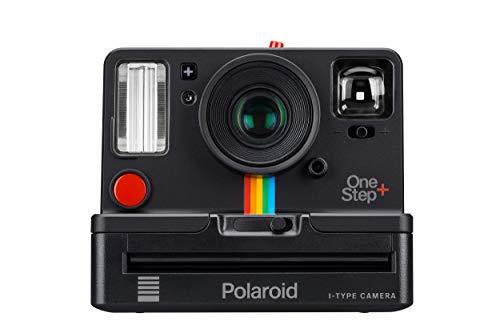
fun Photo Gear
The best way to learn in photography is to experiment, see what works, what doesn’t, and learn from your successes and failures. Here are a few more fun and creative options to try out along the way. Photography should be fun and exciting, not stressful. Enjoy!